NCC Football Photography Tips
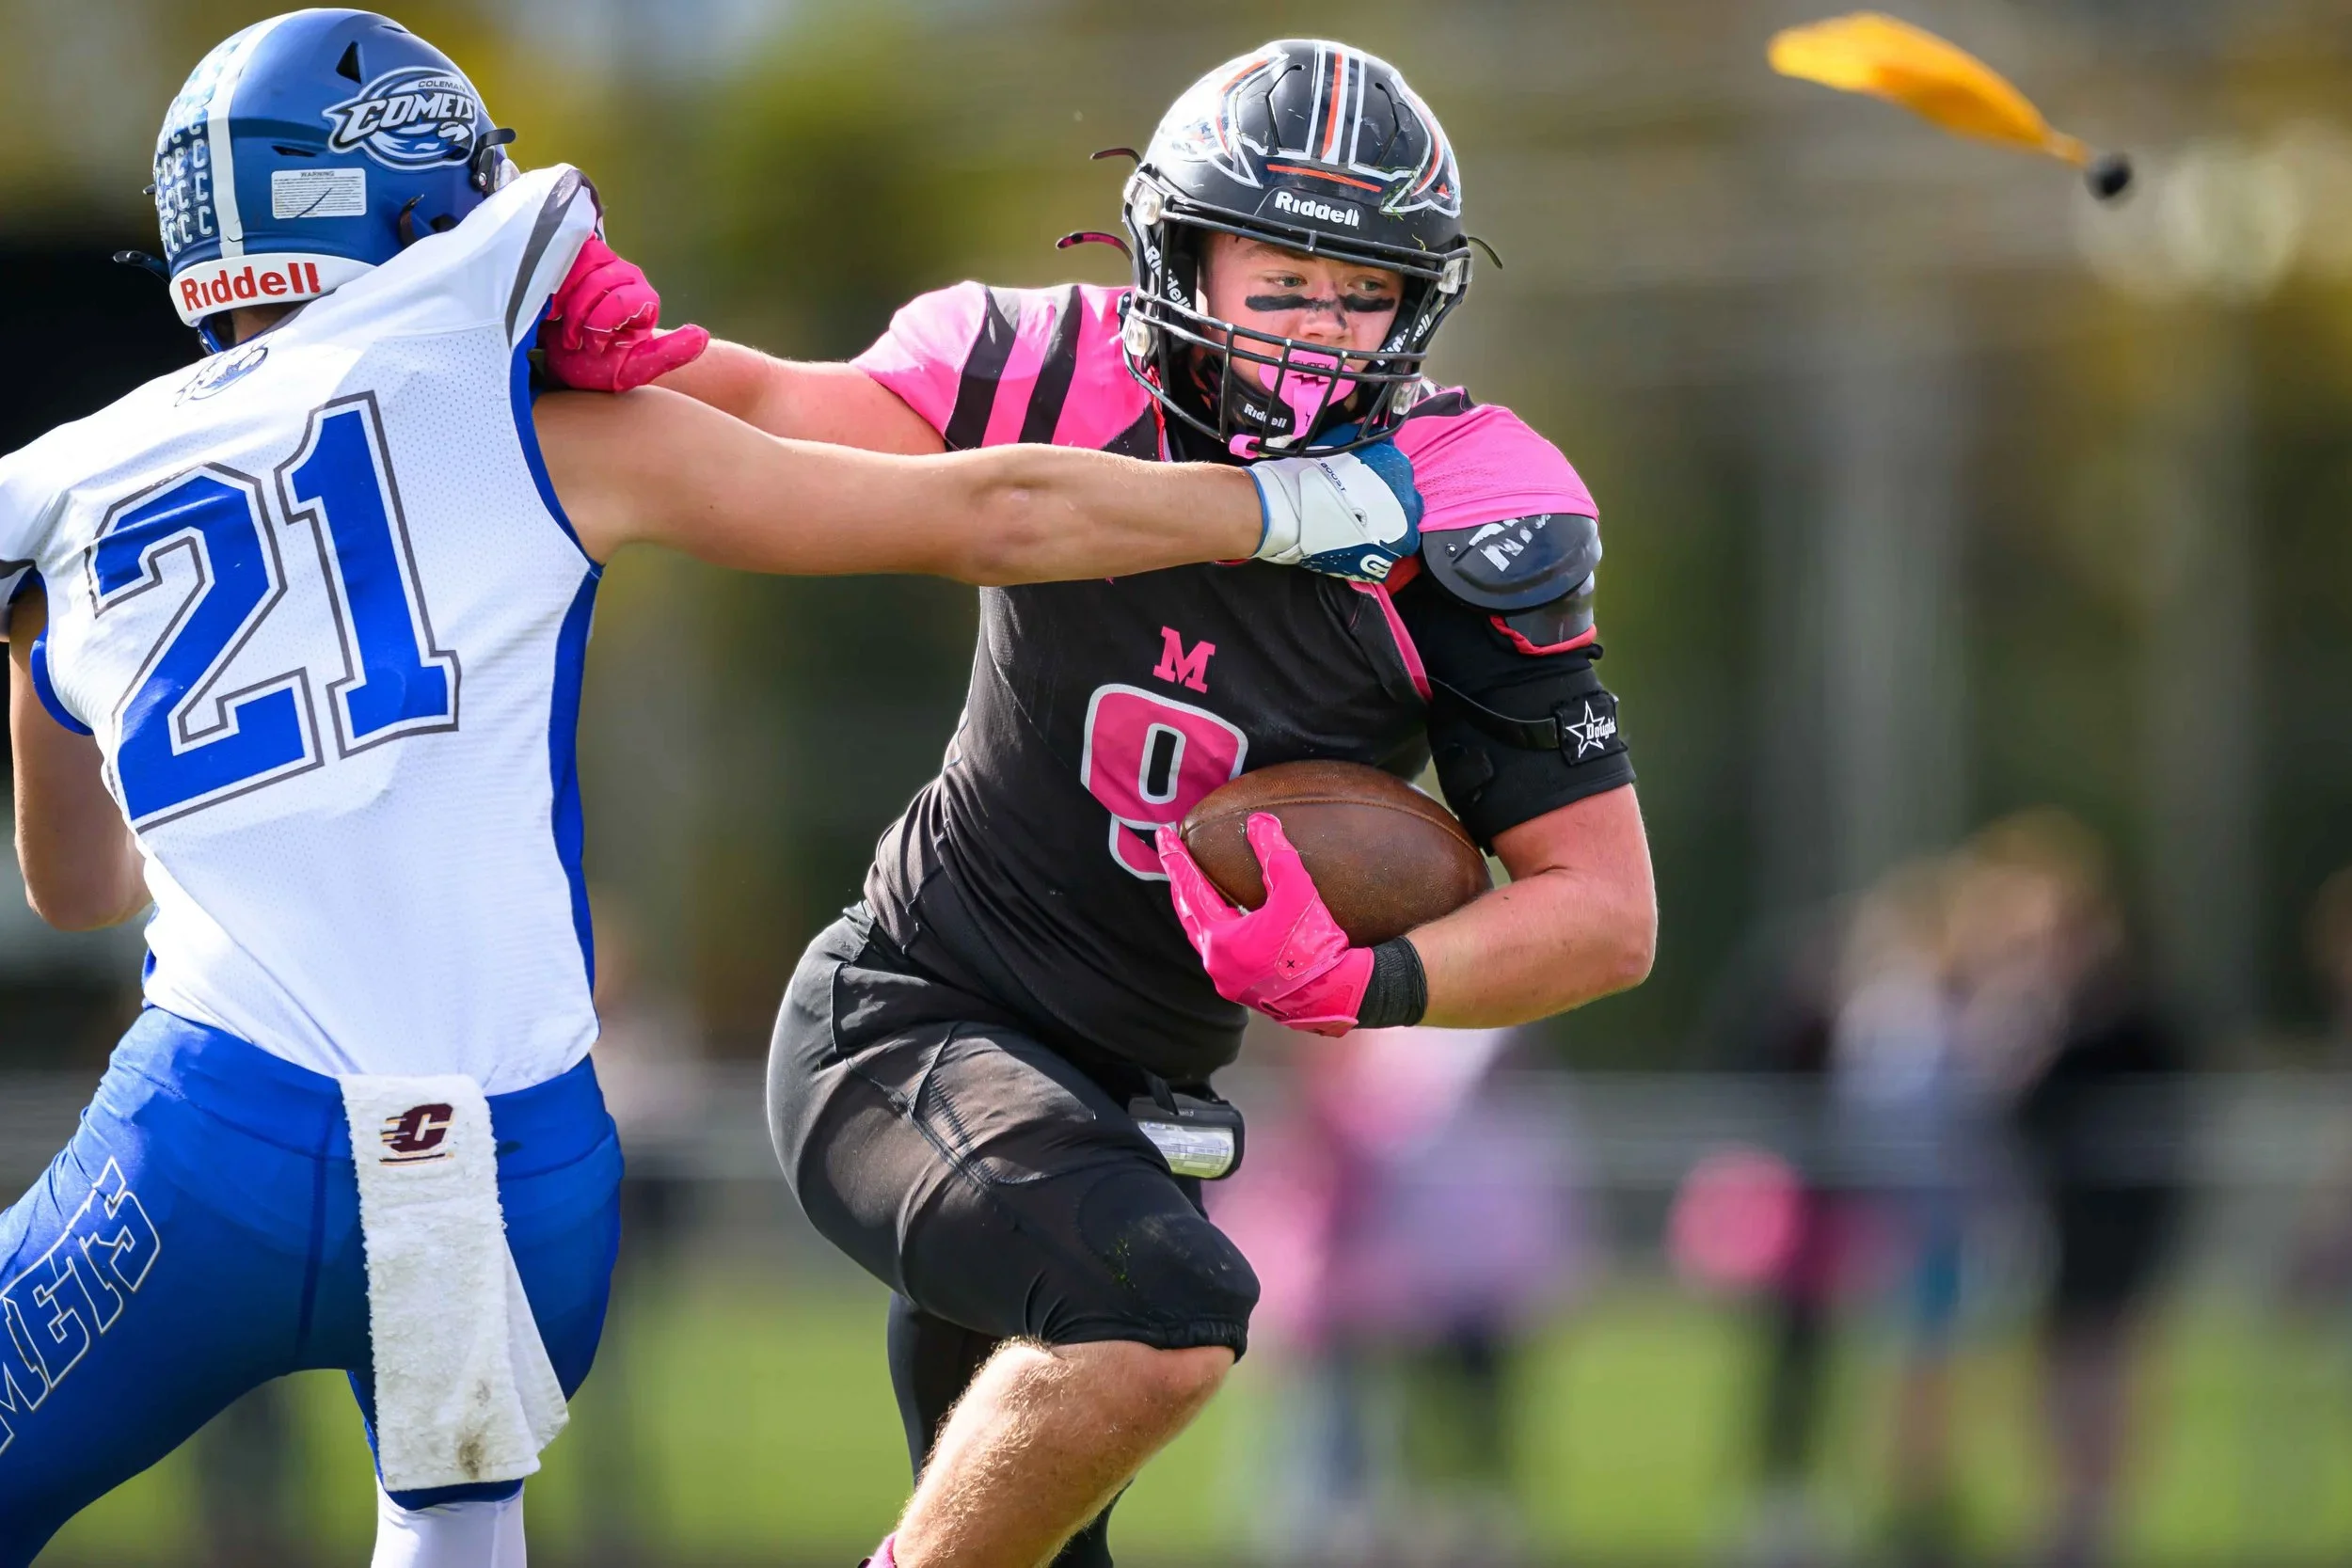
GET ON THE FIELD
Taking pictures from the stands is incredibly limiting, so talk to the coach! Let him know that you’re taking pictures for the team and ask if you can have sideline access. I’m sure Drew will be supportive. He appreciates photography.
Once you’re on the field, you’ll generally be able to move between the end zone and the 30-yard line on both sides of the field. Some schools enforce a 20 yard line to the end zone buffer but at Nouvel you can generally go to the 30. Don’t go beyond the 30. Never go into the areas where the players are gathered. Ideally, they shouldn’t even notice you’re there. When you’re moving from one area of the field to another, it’s fine to walk behind the player area —but keep moving and don’t “get in the mix” along the way.
Also, there is an out of bounds line around the field and a second line beyond that. You need to stand behind that second line at all times. If you go beyond that line the referee will give you a warning and next time give you the boot.
And be bold! Get on the sidelines during warm-ups, too. You’ll likely see other photographers doing the same. Warm-ups are a great opportunity to capture players who may not get as much action during the game, and being on the field is really the best way to photograph the whole team.
When you are on the field covering the game, with your lens and camera combo you can be 20-40 yards ahead of the team when they are on offense and 20-30 yards in front of them when they are on defense, where/when possible within the constraints mentioned above. The closer you are the better, of course, but your lens has considerable range.
AUGUST AND SEPTEMBER ARE YOUR FRIENDS
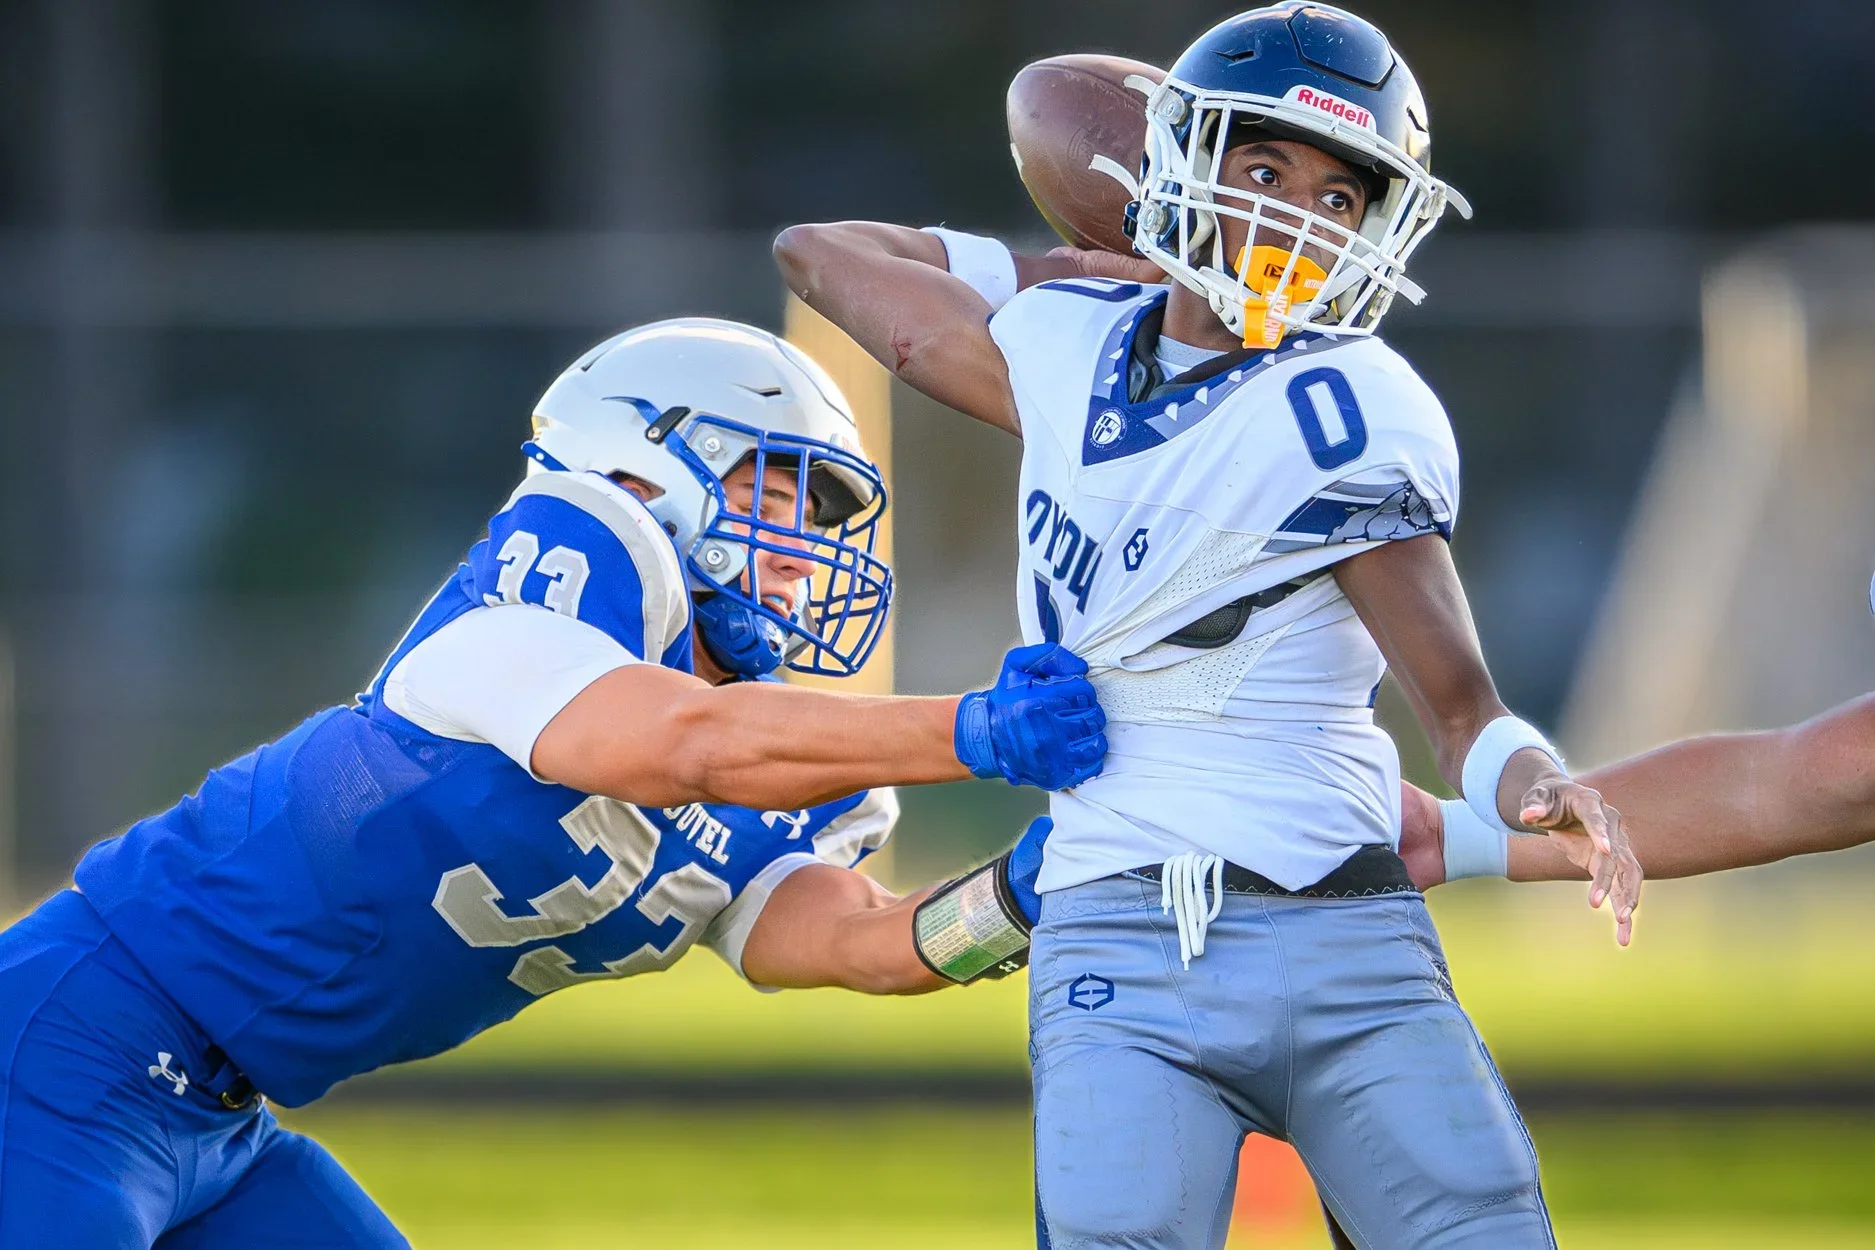
You have good gear, but your camera and lens aren’t really optimized for night photography. That means take advantage of the early-season games!
In August and early September, you should be able to shoot an entire game and still get decent light. By mid-September, you may be looking at two or three quarters before the light becomes a problem. By October, many games will start or finish in the dark, and you may not be happy with the image quality. The Nouvel field has particularly bad lighting.
There’s a saying among sports photographers that your best nighttime football photo isn’t much different from your worst nighttime football photo. Honestly, I’d plan to focus most of your football photography on August through mid/late September. That’s when your equipment will give you the best results. You — and every other football photographer — will get super frustrated in October. It’s not you!
WHAT TO FOCUS ON — LITERALLY
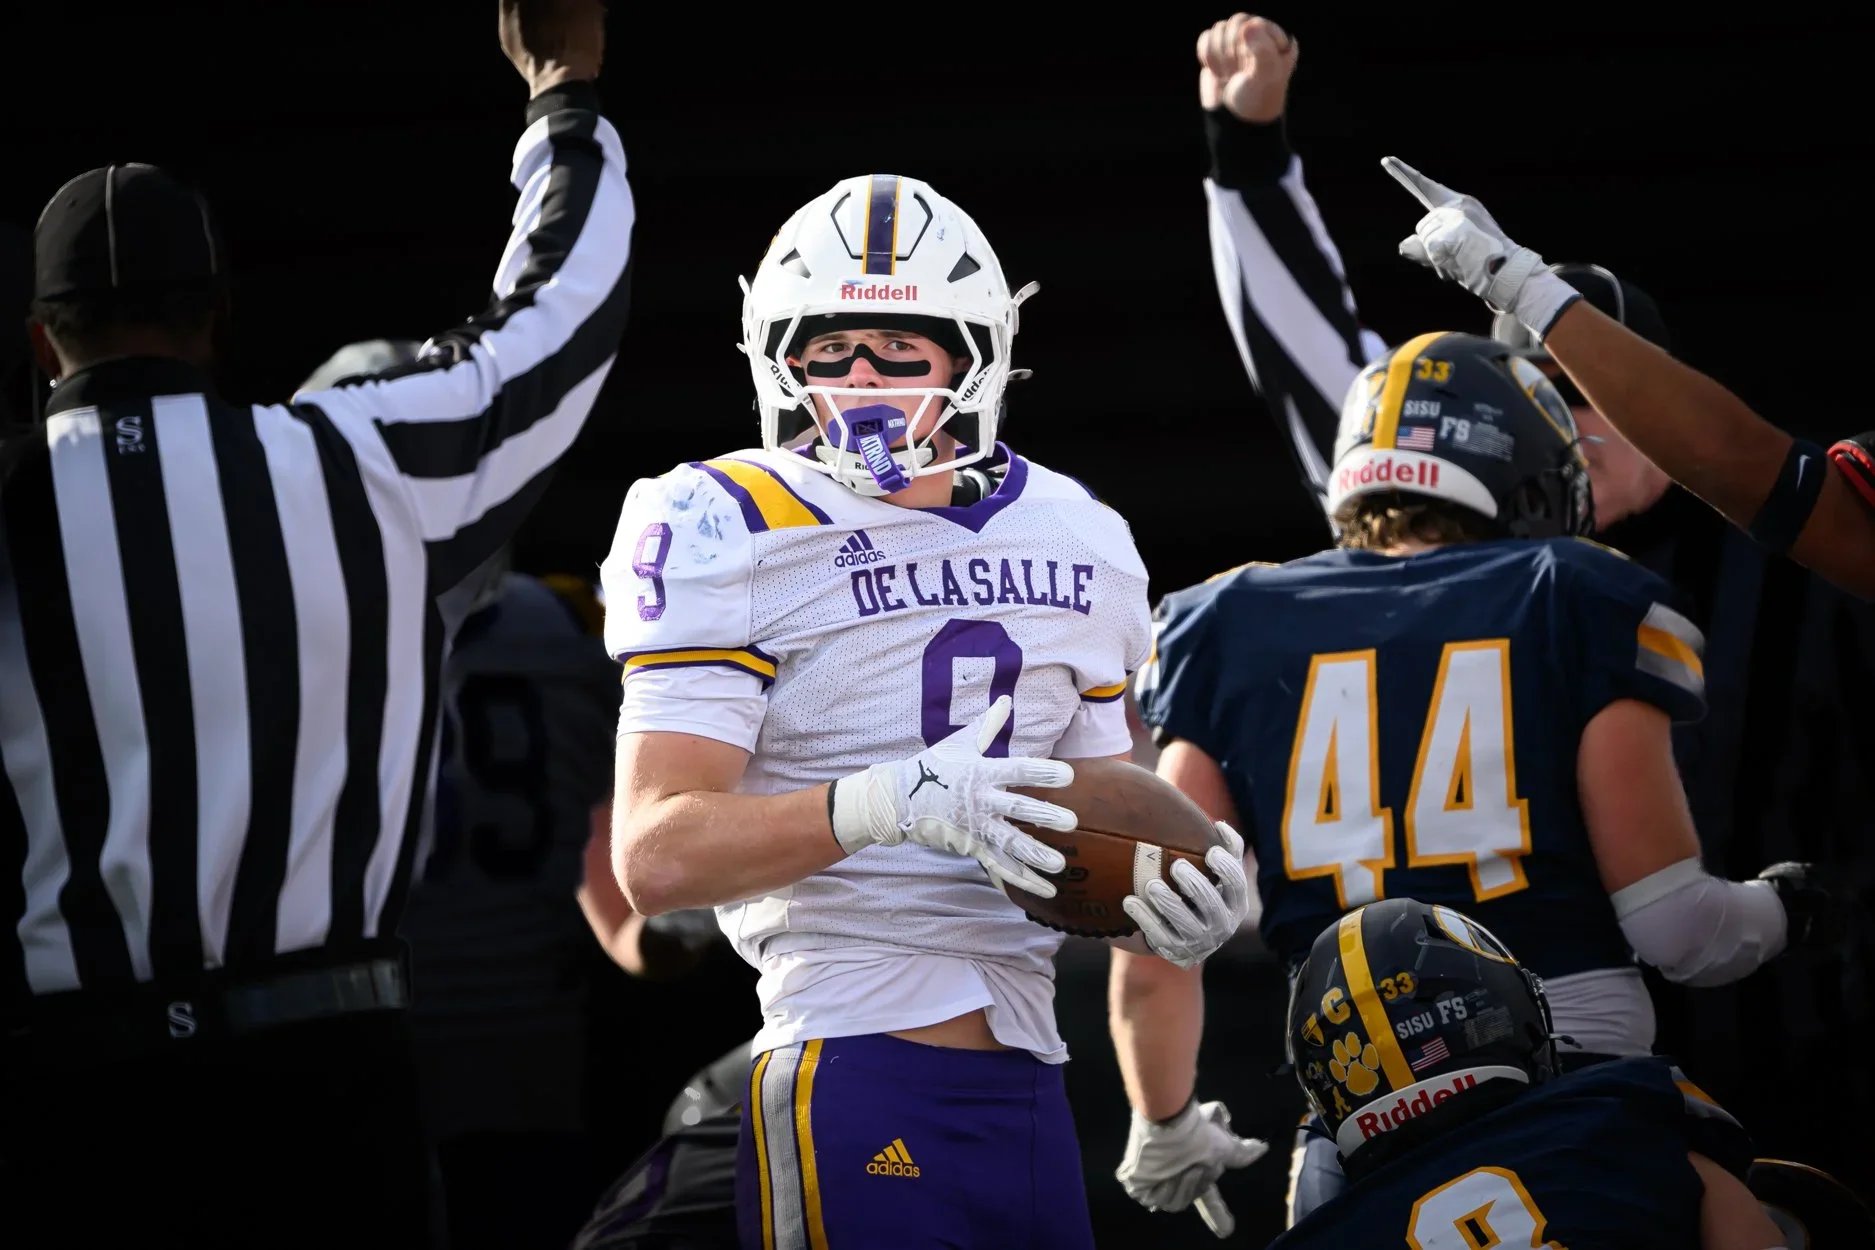
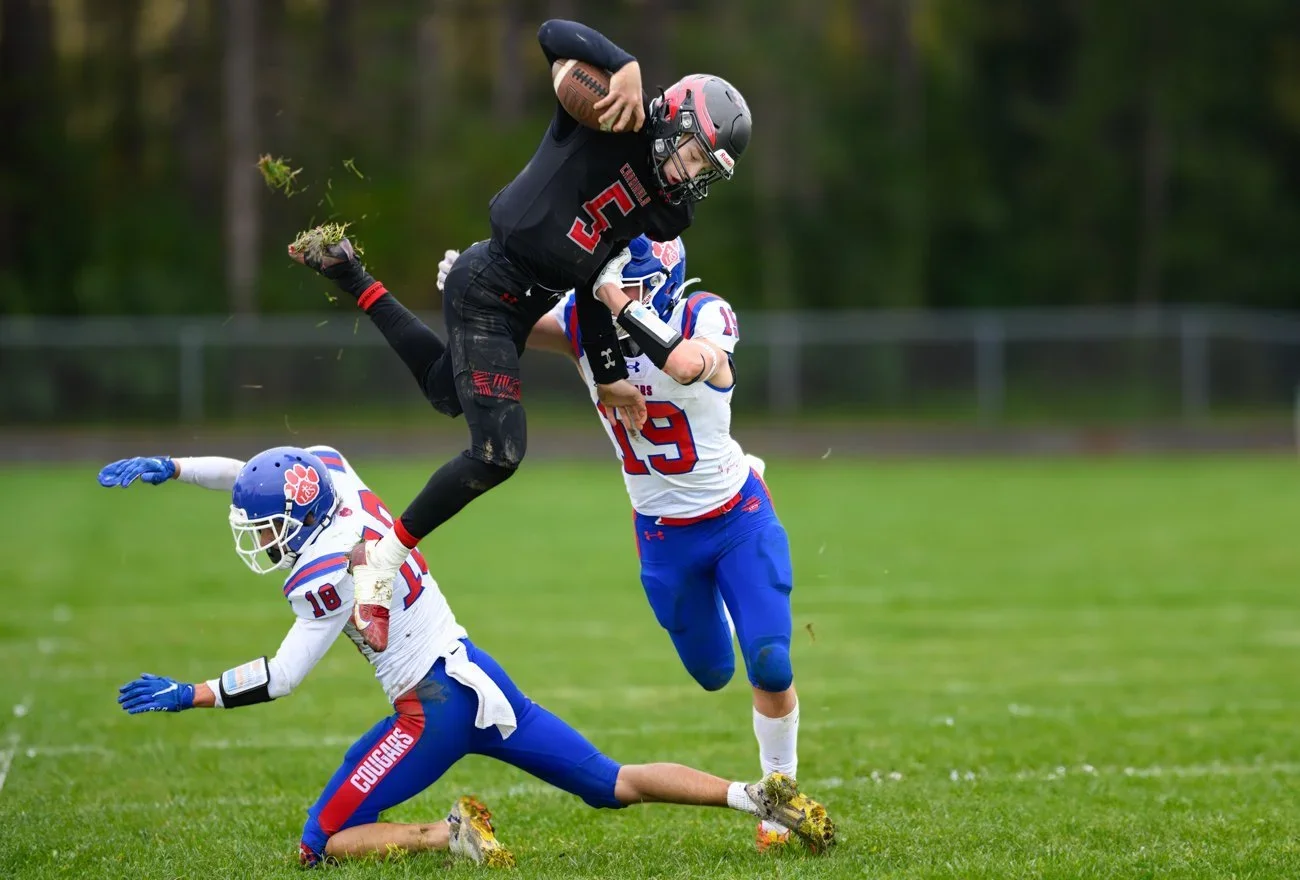
The first rule of sports photography is: “Follow the ball.” The second rule is: “Don’t just follow the ball.” Yes, you want the action—catches, tackles, quarterback drops, runs, etc. But some of the best and most meaningful photos happen away from the actual play. Keep an eye out for:
Celebrations
Players reacting after a big play
Tackles and other intense action
Quarterbacks dropping back
Catches
Coaches interacting with players
Reactions on the sideline
Players on the bench
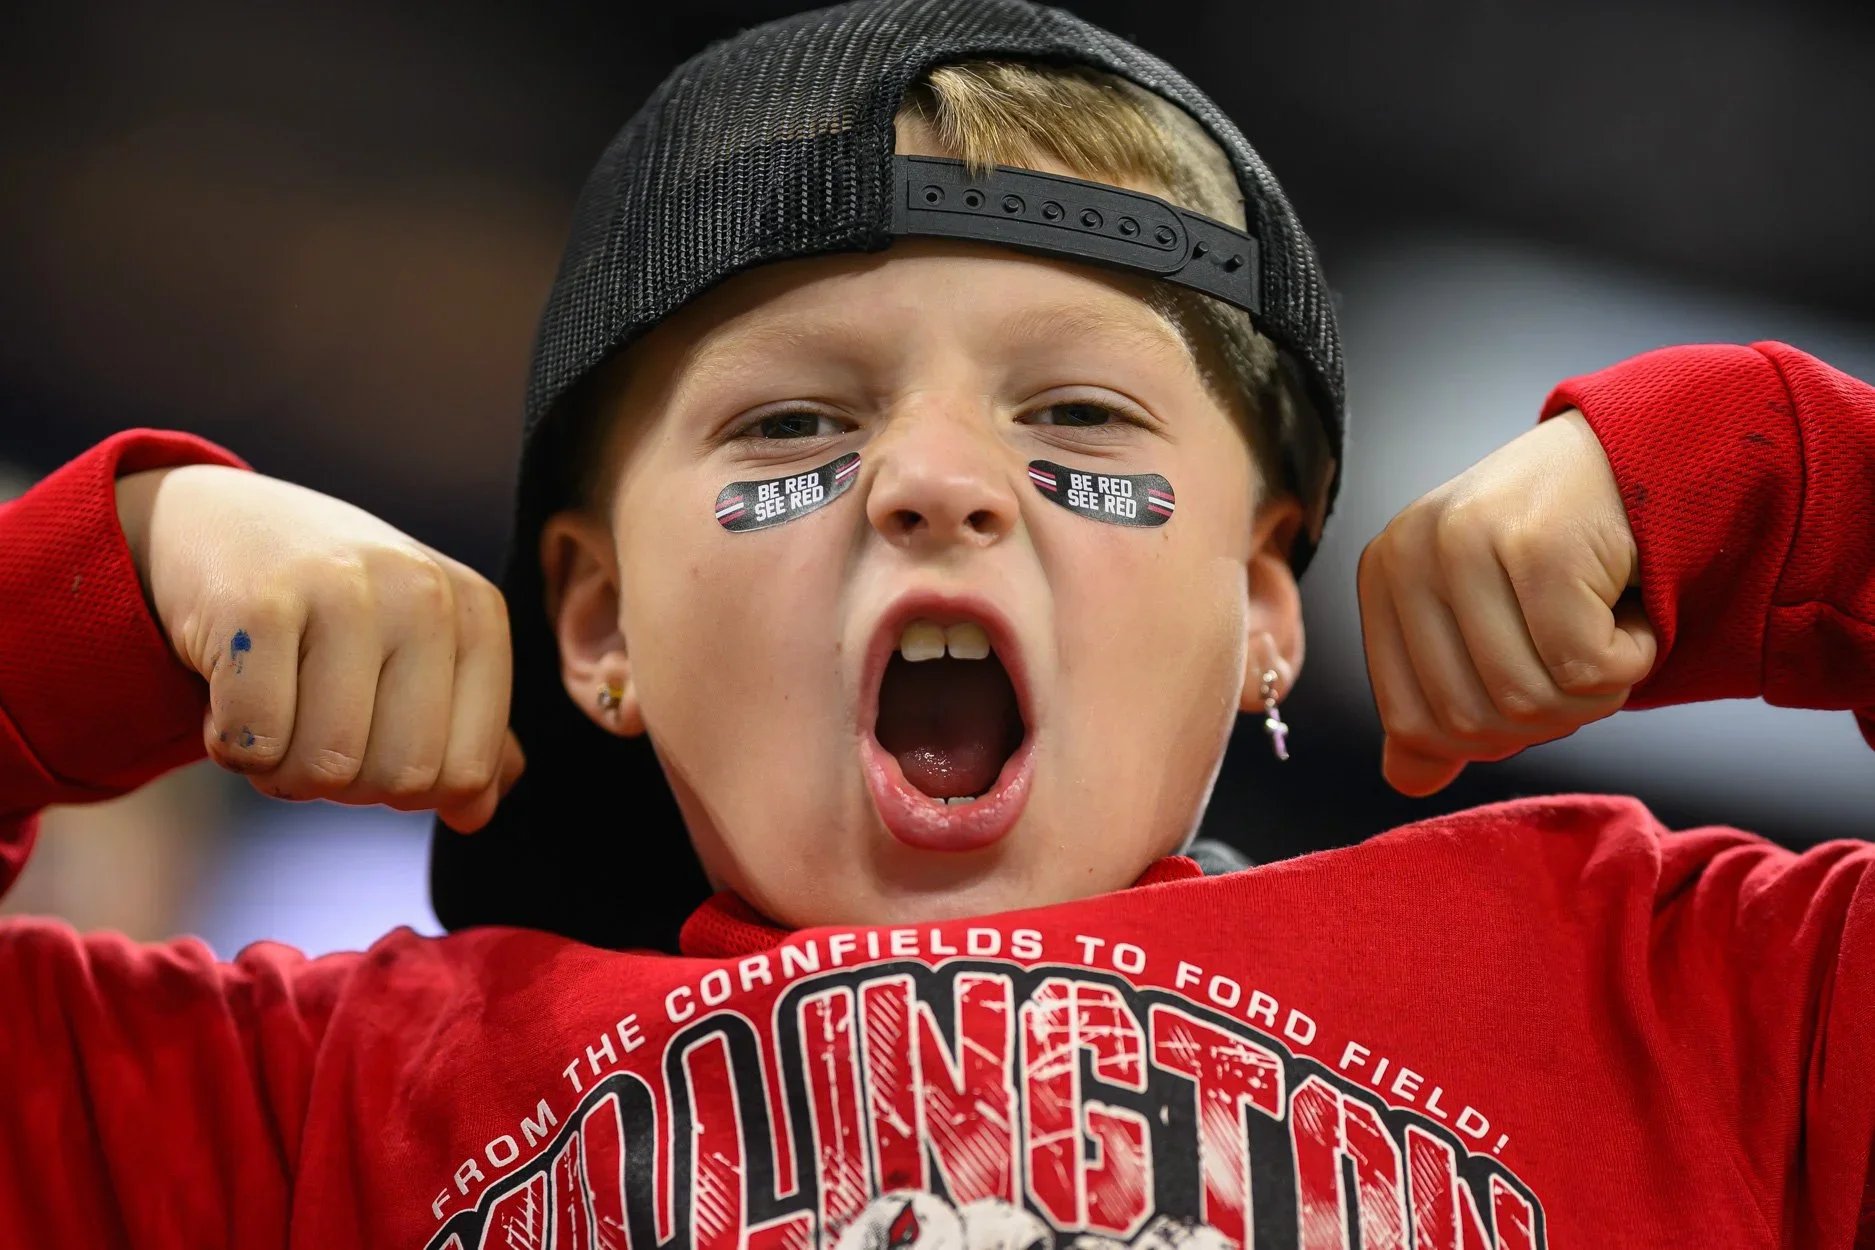
Fans and reactions in the stands
The little moments between plays
Those are often the photos people end up loving the most.
PRO TIP: — The play is definitely not over when there whistle blows. The best shots are very often in the 5 seconds AFTER the play is whistled over; the celebration or confrontation etc. Stay with it! We call it “shooting through the play.
SETTINGS
With a Canon Rebel T4i/T4 and a 75–300mm lens, shutter speed is going to be your best friend when it comes to freezing football action.
Definitely test these settings at a practice before shooting a game. Every field and lighting situation is different, but these are good starting points for your camera and lens combination:
Mode: Tv (Shutter Priority)
Shutter speed: 1/1000 sec
Very bright: 1/1250 sec
Overcast/evening: 1/800 sec
ISO: Auto ISO
Aperture: Let the camera choose it in Tv mode
Autofocus: AI Servo AF
AF area: Use a single AF point if you can keep it on the player. If that’s too difficult, use the camera’s multi-point/zone option.
Drive mode: High-speed continuous/burst
The most important thing is to practice these settings before game day. A practice is the perfect place to experiment without the pressure of trying to capture every important moment.
BE KIND TO YOURSELF
Most importantly, don’t try to do too much, and don’t be too hard on yourself. Sports photography is not nearly as easy as it looks!
For a beginner, coming away from a football game with 5–10 really nice pictures—good light, good action, and good focus—is a very successful game. Not every picture is going to be a “banger.
Instead of worrying about getting hundreds of great shots, try to build a gallery of around 25 good photos that tells the story of the game. If you come home with 25 photos you’re genuinely happy with, that’s a great day of shooting.
Most importantly, have fun with it! The more games you shoot, the more comfortable you’ll become with positioning, timing, settings, and anticipating what’s about to happen. The good shots will come!